Pick-and-pluck needs no die and opens a cavity in minutes; die-cut holds ±2 mm and pays back past 2,000 pcs, where the tooling falls below US$0.15 per insert.
Two inserts can look the same in a photograph and behave nothing alike inside the case. One is struck from a steel rule die on a clicker press; the other is pulled apart by hand along a grid of pre-cut blocks. That single difference sets the tooling bill, the minimum order, the cavity tolerance, and how much the insert costs the day a product manager moves a button 3 mm to the left.
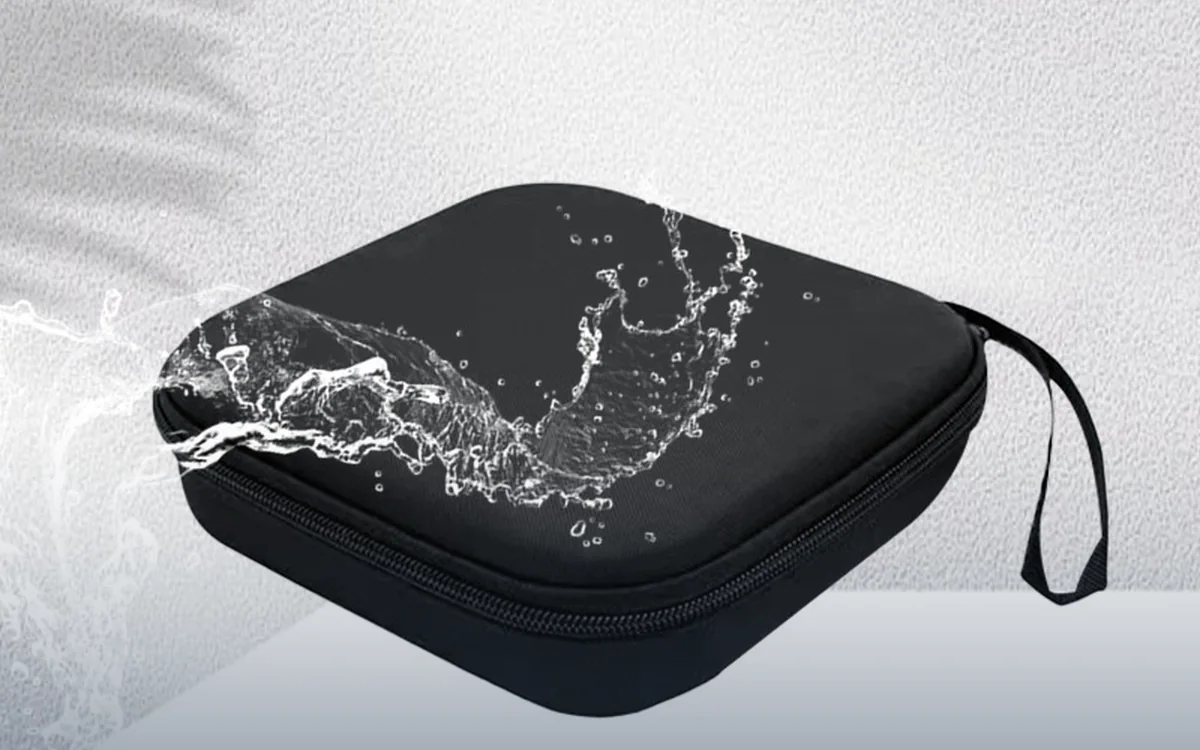
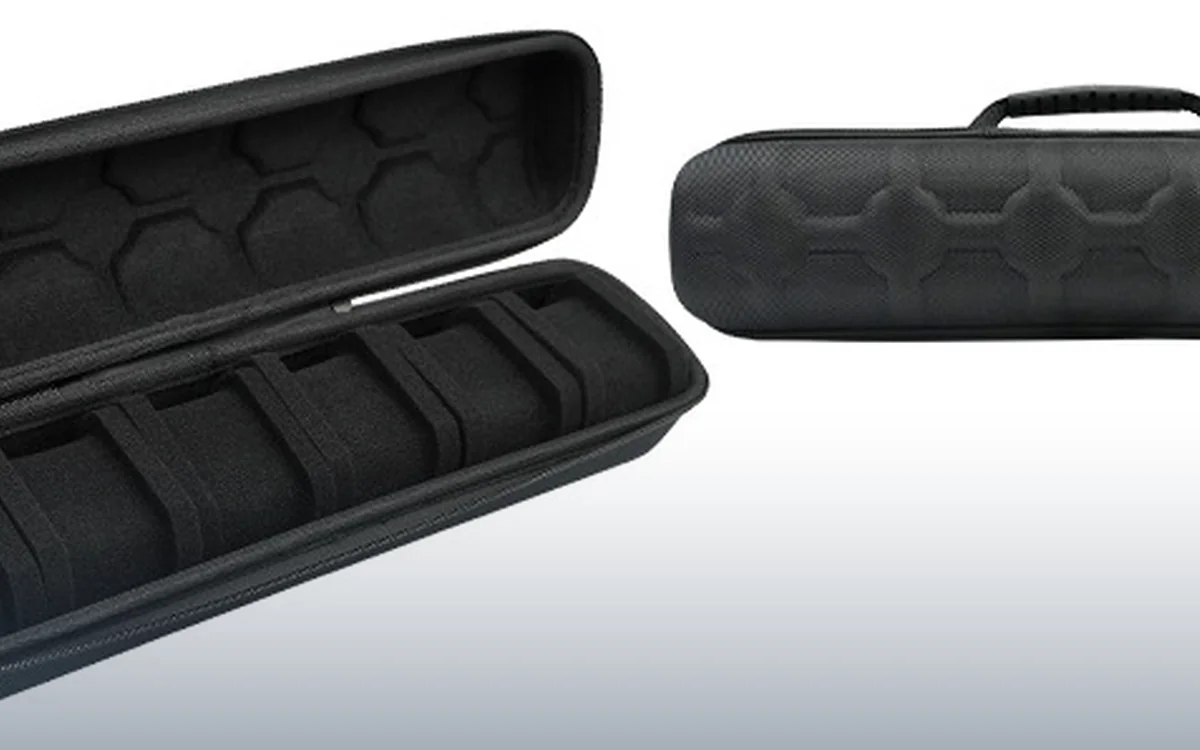
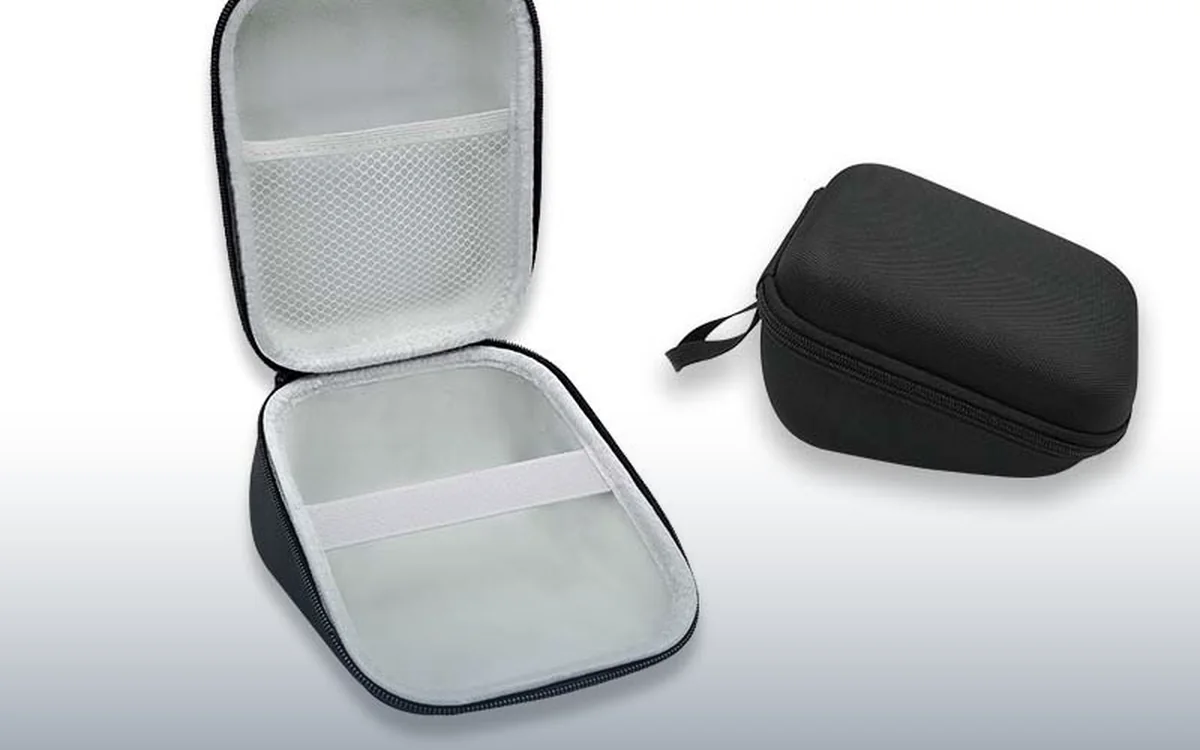
Both systems are standard in EVA hard case production, and both can sit inside a 5 mm EVA shell lined with 1680D nylon or jersey. Neither is better in the abstract. One is better for your quantity, your product stability and your packing line.
What each insert system actually is
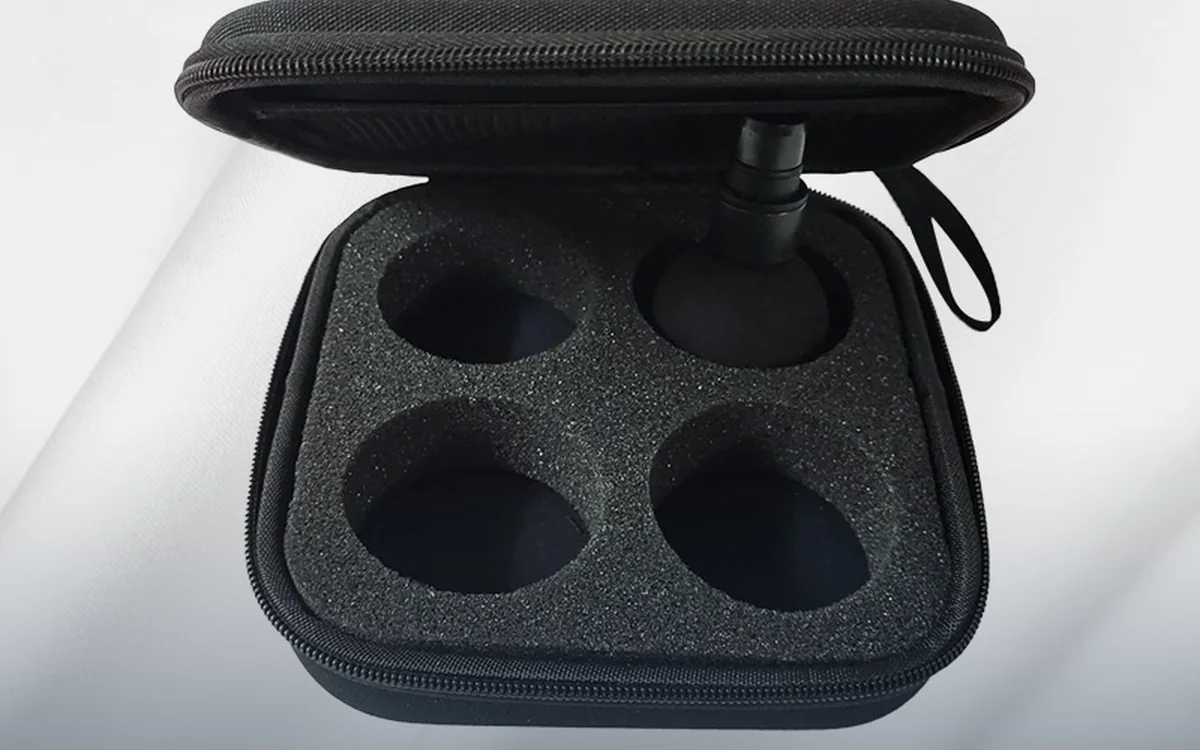
A die-cut insert starts as EVA foam sheet — 25D, 38D, or a bonded stack of both — sometimes capped with a 2 mm high-density layer where the lid closes on the product. A steel rule die machined to the device outline is mounted in a clicker press and strikes the sheet in one pass at 2–4 tonnes. The offcut drops away, and the remaining cavity matches the product to within ±2 mm. Layers are bonded with hot-melt adhesive and finished with a finger notch, a folding plug or a second cavity for the charger.
A pick-and-pluck insert starts as the same EVA sheet, pre-scored on a 10 mm or 15 mm grid. Blocks are glued to the base layer but not to each other, so the packer removes them by hand to open the space the product needs. There is no die, no press tool and no fixed cavity. The sheet is a blank grid until someone pulls the first block.
Tooling: US$150–300 against zero
The die for a single-layer insert costs US$150–300. Complexity drives the number: every extra cut-out, every internal radius under 3 mm and every additional layer adds machining time. A three-layer insert with a separate accessory pocket usually needs two dies, so budget the top of the band. The die is machined in 5–7 days once the drawing is approved, and it stays on file, so a reorder pays only for foam and cutting.
Pick-and-pluck tooling is zero. The only setup is the cutting programme for the sheet outline and the base lamination, and that work is the same whether you order 100 pcs or 5,000 pcs. That is why a 100 pcs trial is possible at all: there is no die to amortise.
Run the arithmetic before you celebrate the zero. At 1,000 pcs a US$300 die adds US$0.30 per insert. At 500 pcs it adds US$0.60. Above roughly 2,000 pcs the tooling becomes noise and the die-cut construction wins on labour, because nobody is pulling blocks for eight minutes per case on a packing line.
Minimum quantity: 500 pcs against 100 pcs
A die-cut run starts at 500 pcs per shape, per foam density. The die is the easy part; the setup is sheeting, laminating, die setting and a first-article sign-off, and that setup has to be spread over enough pieces to keep the unit price sane. The case itself still starts at 300 pcs per style, or 100 pcs per colour on a stock mould, so a 500 pcs insert run against a 300 pcs case order leaves 200 inserts in stock as spares and reorder buffer.
Pick-and-pluck starts at 100 pcs. A packer working from a printed removal map opens a cavity in about two minutes, so a 100 pcs run costs labour rather than tooling. That is the correct entry point for a crowdfunding batch, a trade-show sample set, or a first order you expect to revise.
Quantity also changes packing. Die-cut inserts stack flat and ship in bundles of 50; pick-and-pluck sheets are thicker once the base and the grid are laminated, so the carton holds fewer. Ask for the packed carton quantity before you approve freight.
Tolerance: ±2 mm against ±5 mm
±2 mm is the working tolerance of a die-cut EVA cavity, measured across the opening at its widest point. That is tight enough to hold a device with 1 mm of clearance per side, which is what stops a drone battery from rattling against a moulded shell in transit. It also means the drawing has to be right: a 2 mm error in the CAD file becomes a 2 mm error in 500 pcs of foam.
±5 mm is realistic for pick-and-pluck, because the grid dictates the increments. On a 10 mm grid the cavity can only grow or shrink in 10 mm steps, and the cut edge wanders by up to half a block. A camera body tolerates that. A lens barrel with 0.5 mm of clearance does not.
Measure the product, not the drawing, before you commit. Calipers on three sample units, recorded to 0.1 mm, tell you which system your clearance can survive.
Foam density: what 25D and 38D do
25D EVA is softer and lighter. It compresses under a thumb, cushions a VR headset against a 1.2 m drop and adds little to the shipping weight. It also takes a compression set: leave a heavy device in the same cavity for a month and the foam remembers the shape.
38D EVA is firmer and holds its shape. It is the right choice for a tool case, a battery brick or any product above roughly 1.5 kg, because the cavity walls do not collapse when the case is carried on its side. It weighs more, costs more per sheet and is harder to die-cut cleanly on a thin wall.
Most inserts combine the two: 38D for the base and the outer wall, 25D for the lid face and the parts tray. Specify the density per layer on the drawing. If the factory quotes one density for the whole insert, ask which one and why.
What happens to the cavity when the device changes size
With pick-and-pluck, nothing happens. The grid absorbs a 10 mm growth by leaving one more row of blocks in place, and a 3 mm shrink is taken up by the foam's own compression. A revised device rarely needs a new insert, which is why the system suits products still in iteration.
With die-cut, a 3 mm change usually means a new die. The existing die can sometimes be modified — a plug glued into the old cavity and re-machined — but that is a partial rebuild, not a free edit, and it costs a share of the original US$150–300. A change in product thickness can be absorbed by re-laminating a layer, which is cheaper than a new die but still a new run at 500 pcs.
Plan for one revision. If you expect two or more device changes in the first year, start with pick-and-pluck and move to die-cut once the industrial design is frozen.
When to choose each
Die-cut is the right call when:
- You are past 2,000 pcs and the tooling amortises to under US$0.15 per unit.
- The outline is fixed — a drone, a VR headset, a blood-pressure monitor — and will not change for 12 months.
- Clearance is under 3 mm per side, so a 10 mm grid cannot hold the device without rattle.
- The packing line is paid by the hour and a two-minute block-pulling step per unit is a real cost.
- The insert is part of the presentation, because a clean painted cavity reads as a finished product.
Pick-and-pluck is the right call when:
- You need 100–400 pcs for a trial, a crowdfunding drop or a sample programme.
- The device may still change shape, size or accessory count before the second order.
- The kit varies — one case sold in three accessory combinations, each needing a different cavity.
- The customer reconfigures the interior for their own tools or accessories.
- The product is light, under 1 kg, so a ±5 mm cavity in 25D foam is enough.
Sending a mock-up or a CAD file
Insert quotes are only as good as the geometry you send. A mock-up is faster for a first conversation; a CAD file is faster once you are close to production. Send both when you can, and include the following:
- 3D file in STEP or IGES, plus a 2D PDF with the overall envelope in millimetres.
- Clearance callout — how much space you want around the device, usually 1 mm per side on a die-cut cavity.
- Surface-critical faces marked, so the foam does not press on a lens, a screen or a vent.
- Loaded product weight in grams, which decides 25D or 38D.
- Accessory list with dimensions — charger, cable, battery, strap, manual — and which ones share a cavity.
- Drop requirement, for example 1.2 m onto concrete on six faces with the product installed.
- Photographs of the mock-up with a 20 mm scale bar, measured at the widest point, the height and the corner radii.
- Quantity and target date, so the quote matches the die lead time and the 20–30 day production window after sample approval.
A physical mock-up still matters. Print the device at 1:1 or send a production unit, and the factory can test the cavity by hand before anyone cuts steel. That single check catches more errors than three rounds of drawing marks.
Send the file and the mock-up together and we will tell you which system the geometry, the quantity and the drop target actually support — before a die is paid for.